
From jobsite to handoff
From front door to finished measure.
Start with the project, work through each opening, and review what you captured before the job moves forward.
No credit card required.
- Step 1 of 7
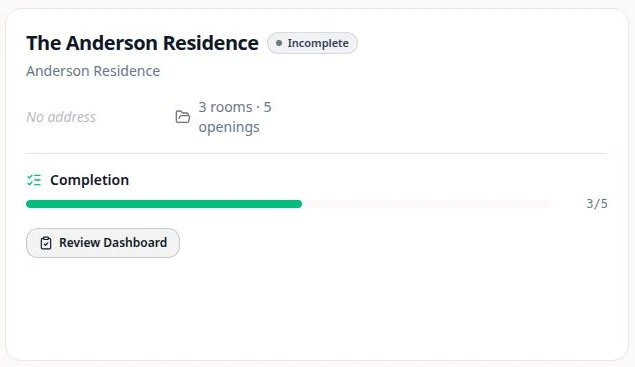
Start with the client and project.
Record the job address and the information you'll need again later. Keep project notes alongside the work instead of starting another paper sheet.
- Step 2 of 7
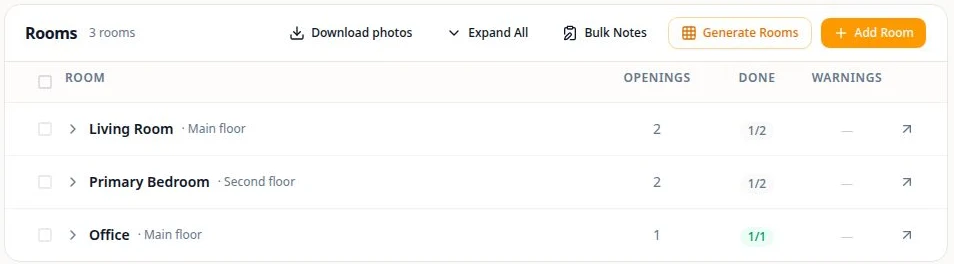
Map the rooms and openings.
Organize the job by floor and room, then add each opening where it belongs. For repetitive buildings, preview and create multiple room/opening structures in bulk.
- Step 3 of 7
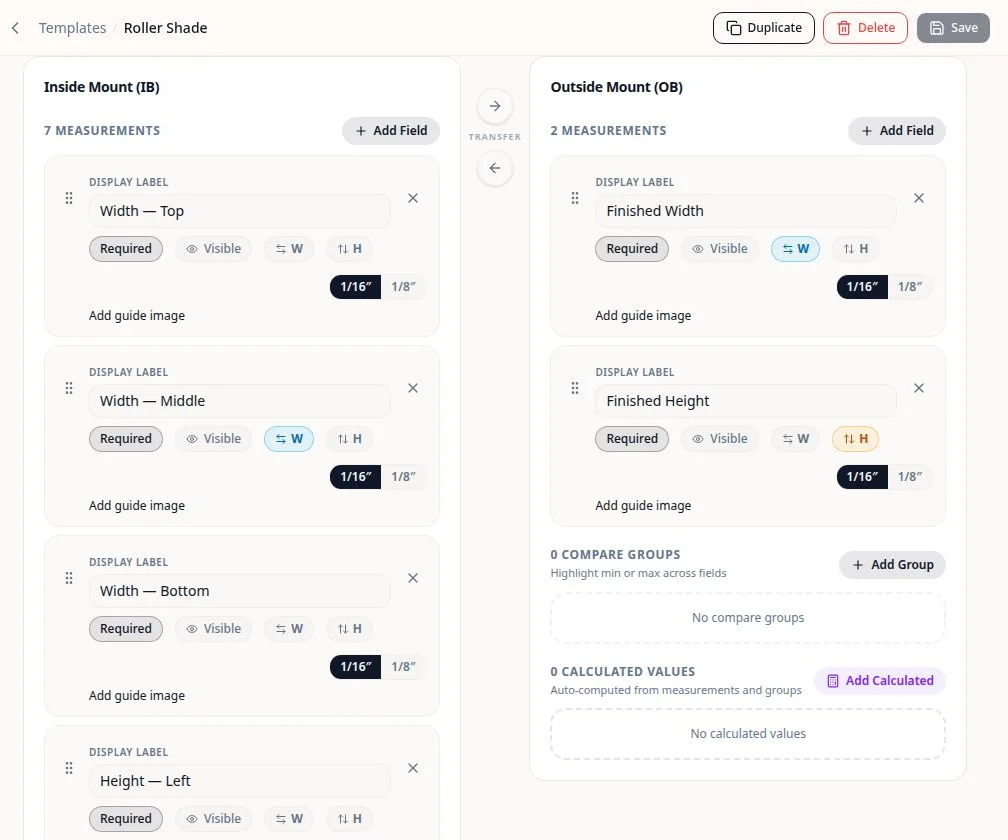
Choose the product template.
Assign a product workflow with the measurements and guidance it calls for. Custom templates can use required fields, mount-specific details, guide images, and configured calculations.
- Step 4 of 7
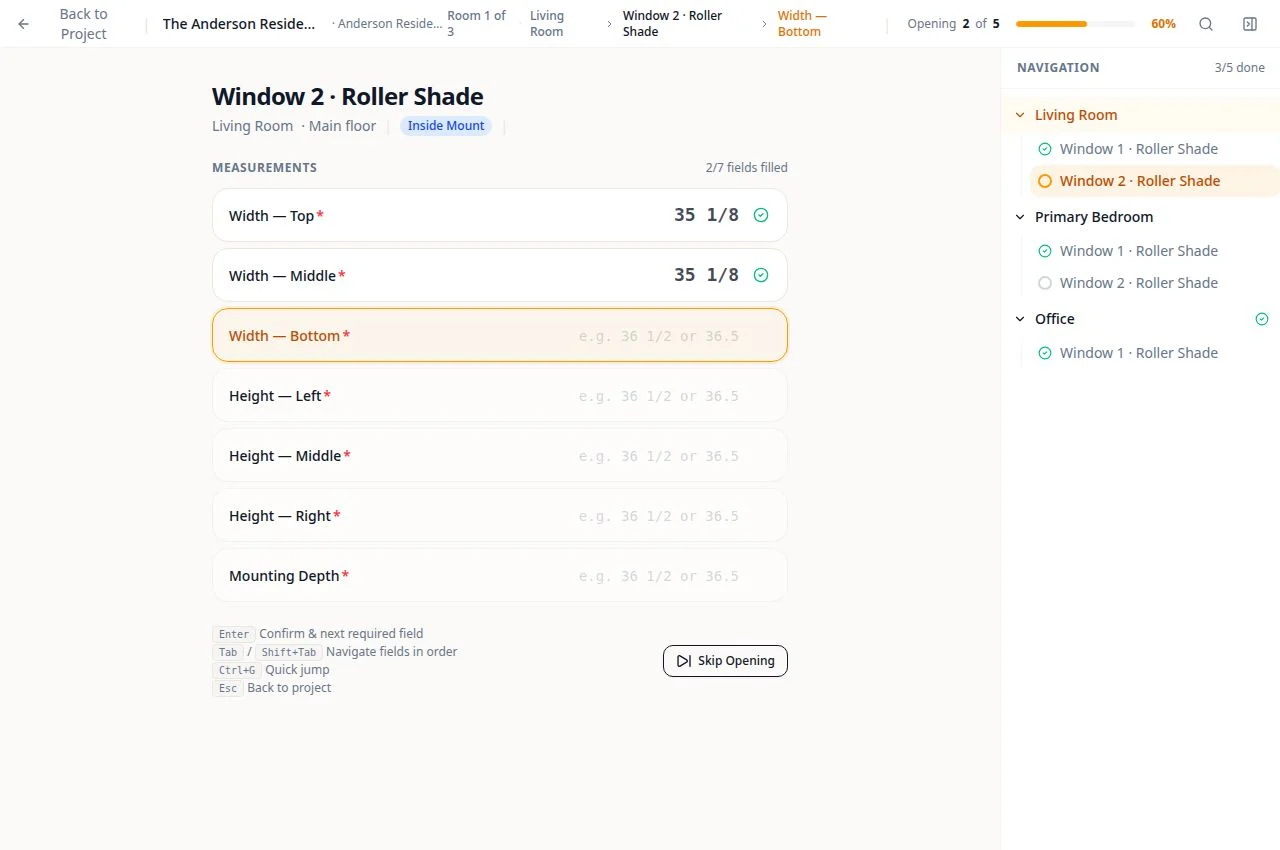
Measure the way you read the tape.
Move through guided fields and see where you are in the job. Enter fractions, whole numbers, or decimals; compatible Bluetooth keyboard/HID devices can supply values to supported fields.
- Step 5 of 7
Capture the details before you leave the window.
Attach photos, mark up obstructions or dimensions, and add notes to the relevant opening. On supported devices, Measure + Photos can move from completed opening to camera.
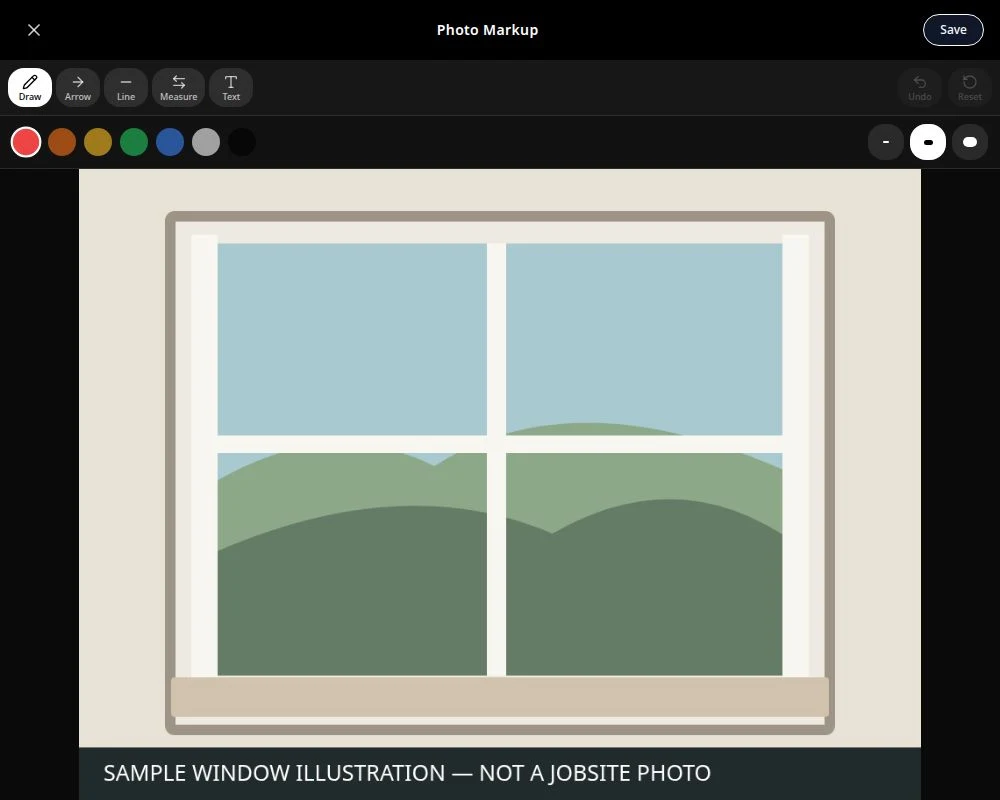
Actual markup tools shown with a sample window illustration. - Step 6 of 7
Review before the next handoff.
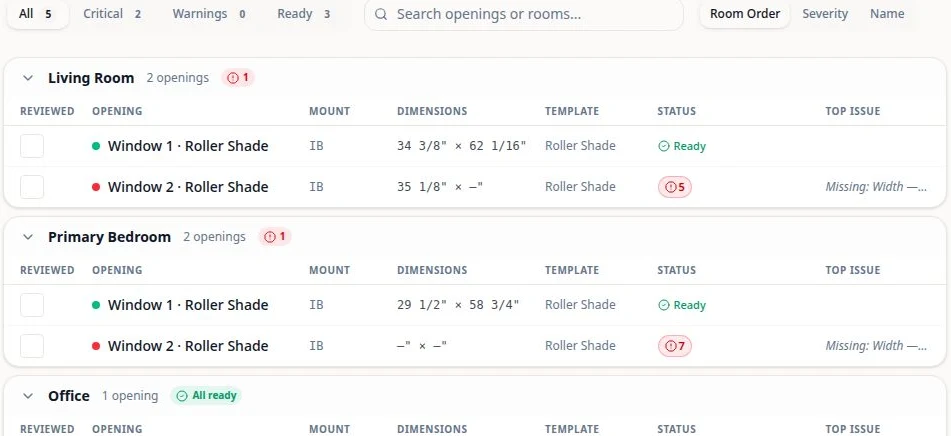
Check completion, required fields, warnings, and review status. Optional AI-assisted findings may suggest another look, but a person makes the final call.
- Step 7 of 7
Use the job information.
Generate a supported measure-sheet PDF, export structured opening data to CSV, download photos, or send an individual supported project to Solatech. CSV does not include notes or photos; Solatech sending is per project.
Field note: Keep measuring with locally available projects when connectivity is unreliable, then synchronize when you're back online. See the FAQ for offline limits.